Sourdough
David 2020-05-21
Since Coronapocalypse began, everyone seems to have started baking bread. A friend of mine first suggested it about a week after my "quarantine" started and it was pretty fun. I managed to pick up some active dry yeast before the stores ran out, but it was a tiny jar, so I figured I'd try and make a sourdough starter because that's pretty much infinite yeast if it works.
It turns out that it's actually fairly easy to make a sourdough starter, even for someone who doesn't know anything about baking—e.g. me. All you need to do is mix equal parts (in terms of weight, not volume) of water and flour. Any type of flour should work, but I used AP flour. I found this "recipe" at the bread lab, by the way. Per the instructions, I fed it twice per day 1 tbsp flour and 1 tbsp water; once in the morning and again in the evening. Seven days after I began, the starter was "mature" enough to use to bake bread!
Before I give you the recipe (such as it is), I wanna explain some terms that I'd never heard before I tried to bake sourdough:
- Baker's Percentage - Equal to the fraction of the weight of any ingredient divided by the weight of the flour, multiplied by 100%—e.g. 300g water to 400g flour is 75%
- Hydration - The baker's percentage of water in the dough
- Levain - The same thing as starter, but I usually call it this when it's "grown" from other start (first few steps of the recipe)
- Autolyse - A process wherein you mix flour and water and let it sit, for the purposes of developing gluten
Here's my recipe, which I adapted from two different sourdough videos: one from Bon Appétit and one from Pro Home Cooks. The recipe is for 1000g, but I have a tiny Dutch oven (technically it is a French oven, apparently, but everyone calls it a Dutch oven) so I scale the recipe to 400g of flour when I make it. Also, I usually start feeding my starter the day before the day when I prepare the levain, just so that the starter is nice and active.
Statistics
80% hydration 20% starter
Ingredients
Starter Mix
- 2 tbsp starter (fed recently—e.g. the day before)
- 250g water
- 250g flour
Dough
- 1000g flour (750g white, 250g any type of flour)
- 750g water (i.e. 75% hydration)
- 20g salt (2% by weight)
- 50g water
Directions
- Pour 250g of water over 2tbsp of starter and stir to distribute the starter
- Pour 250g of flour into the starter/water mixture and mix until there are no dry spots left
- Cover and let sit for 12-15 hours at room temperature
- Float-test the active starter mixture (a small glob should float in water)
- Autolyse: Mix 1000g flour and 750g water, cover and let sit for 30-120mins
- Add 200g (20% by weight) of active starter mix to the flour and water by "pinching it in" or folding it in
- Add the salt to the dough and pinch/fold it in, adding the 50g of water
- Slap & Fold: pick up the dough and slap it down such that it folds over onto itself for about 5mins until the dough is less slack
- Put dough in a bowl/box, cover and let sit for 30mins
- Fold dough (stretch & fold) until dough tightens up; cover and let sit for 30mins
- Repeat step 10 5 more times
- Line 2 bowls/baskets with tea towels and dust them with flower, sifting the flour over the towels
- (Optionally) Let sit for 2-6 hours
- Cut the dough in half, add some flour, cover and let sit 10mins
- Flour one side of each dough, stretch and fold it over onto itself
- Put doughs in the proofing baskets/bowls, bottom side up, and lightly flour
- Cover and refrigerate overnight
- Preheat oven with Dutch oven inside it at 500°F for 45mins-1hour
- Cut a circle of parchment paper, flip put the dough onto it, and score the top of the dough
- Bake for 15mins inside the Dutch oven with the lid on, then 30-40mins with the lid off at reduced heat (450°F)
- Take bread out of oven and let sit for 2 hours before cutting
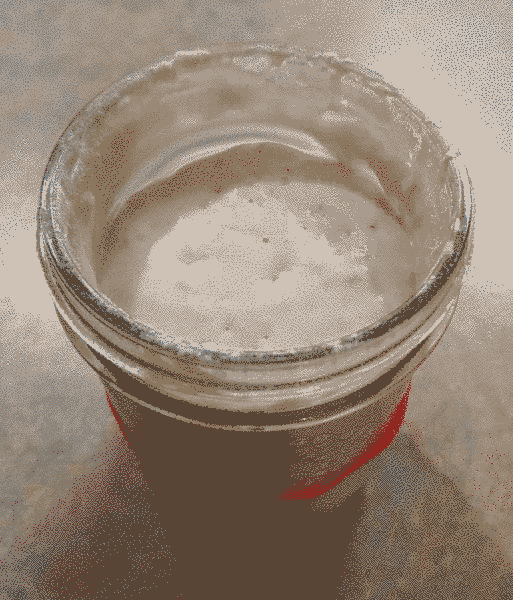
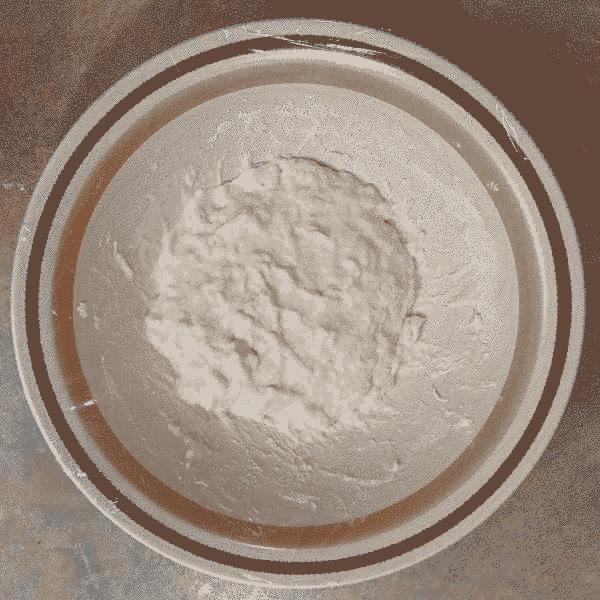
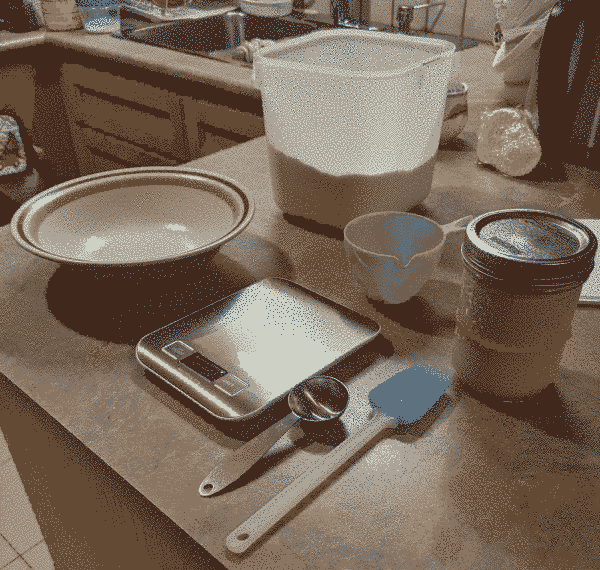
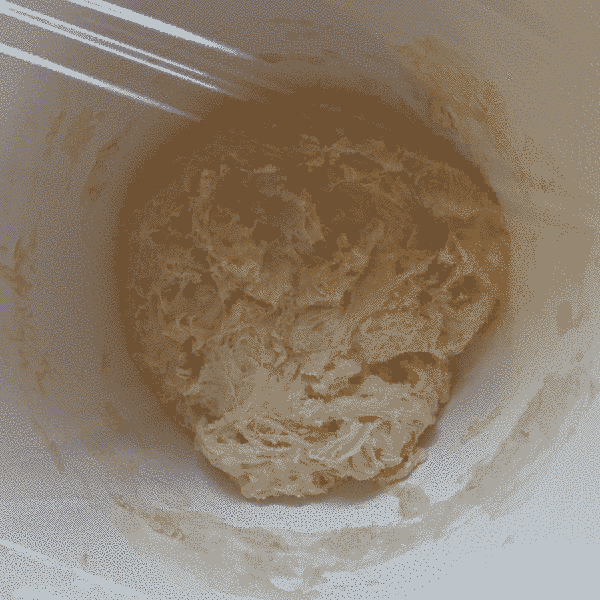
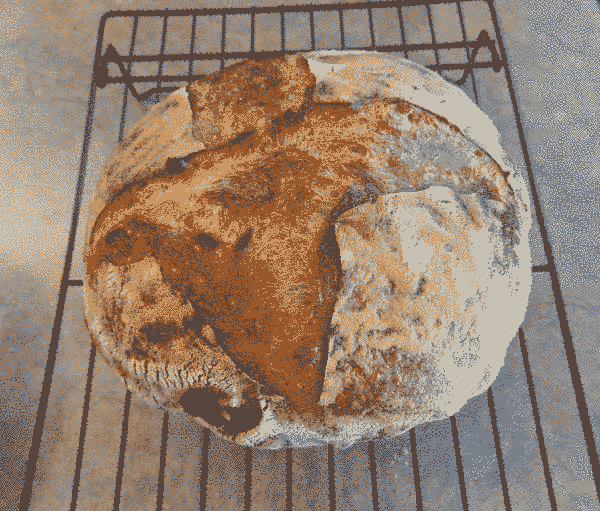
The Process, In Pictures
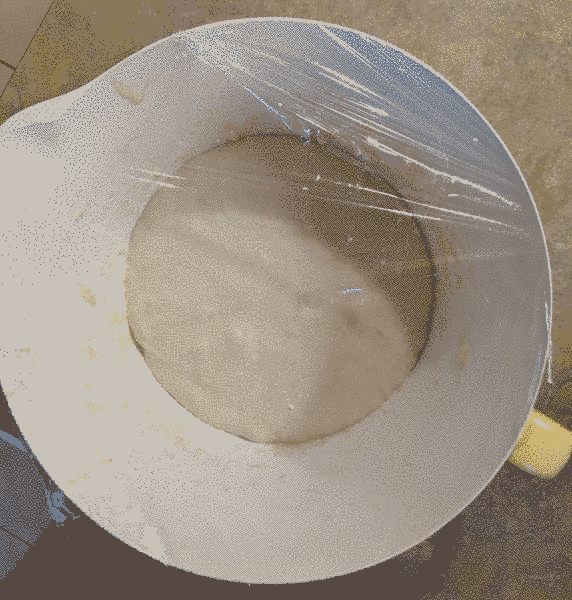
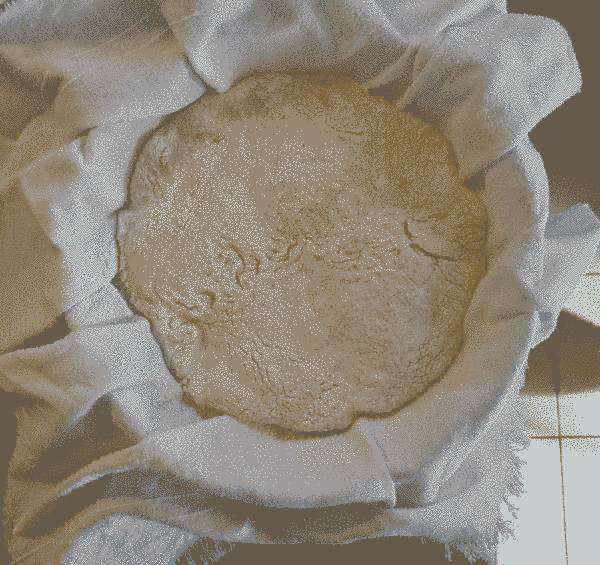
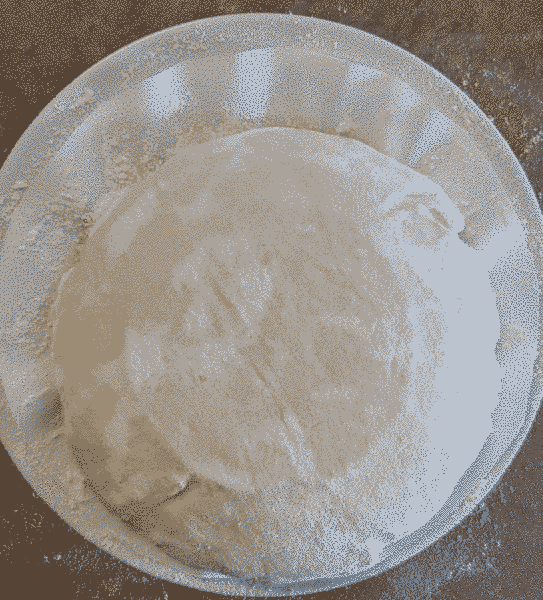
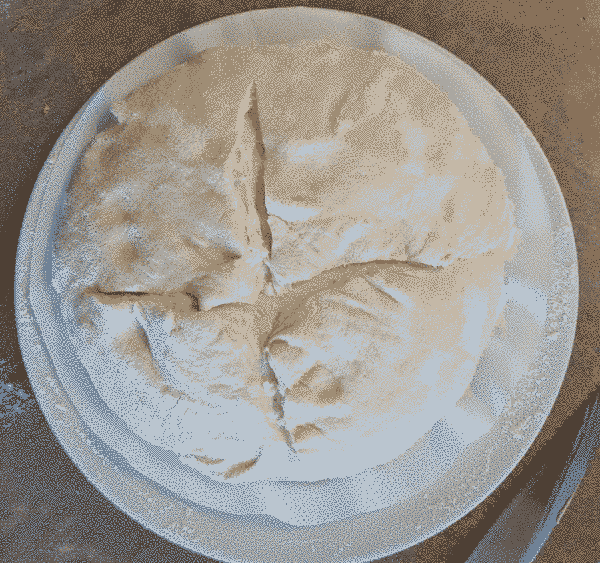
Addendum: Technical Stuff
I've started using a static site generator to build my site. In the spirit of "starting from scratch" I'm using a static site generator that I started working on several years ago but never really had an occasion to use. I'm now dogfooding it and trying to fix the issues that I find during real-world usage. I would not recommend that you use it since it's got very few features, is mostly an experiment, and is probably broken, but if you want to look at it, it's available on GitHub.
Also, as I was adding functionality to Cytogen to properly handle links within unordered lists in markdown files, I discovered a POSIX C function that allows you to open a file pointer in memory vs on-disk, which is extremely handy for unit testing: fmemopen(3). It's available on Linux, FreeBSD, OpenBSD, NetBSD, and illumos which is nice because I want to make sure that Cytogen supports all the open-source UNIX-like OSes. It's in POSIX as well, so in theory it could run in the commercial UNIXes that implement the standard (though I do use asprintf somewhere, which is not standard yet, but pretty much everything implements it anyway).
In an effort to keep this site as small and fast as possible, and because I think the lo-fi aesthetic is cool, I have used dithering to compress the images in this post. I took inspiration from Low-Tech Magazine to do this. Here's the shell script I used—note that "convert" is part of ImageMagick:
#!/bin/sh

outdir="dithered"

mkdir "$outdir"
for f in `ls *.jpg`
do
	outfile=`basename -s '.jpg' "$f"`_dither.png
	out="./$outdir/$outfile"
	convert "$f" -scale 600x600 -dither Riemersma -colors 8 "$out"
done